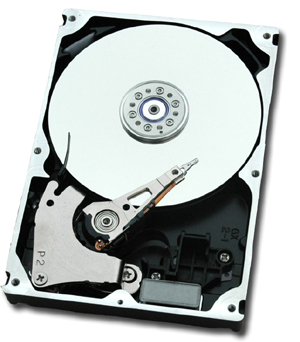
 Per non avere due cartelle per la musica uguali su Vista e Ubuntu, è per risparmiare dunque spazio, ho deciso di creare una partizione condivisa in cui mettere musica e video. Dopo averla creata e riempita di roba e dopo aver sincronizzato il tutto su iTunes (maledetto iTouch, ndr), al riavvio di Ubuntu mi trovo a voler fare la stessa cosa con Rhythmbox, ma ovviamente la partizione non viene automaticamente montata all'avvio del sistema. Per far sì che questo accada bastano pochi passaggi, specificando però che ho usato come filesystem della partizione il buon vecchio FAT32 e che dunque questa guida è valida solo per questo tipo di formato.
Iniziamo:
Da terminale digitate:
sudo fdisk -l
Nella lista che apparirà individuate il nome della
partizione in FAT32 (Ad esempio: /dev/hda3/):/dev/NOME_PARTIZIONE
Creiamo ora il punto di mount in /media chiamandolo come preferiamo:sudo mkdir /media/PUNTO_DI_MOUNT
Dopodichè andiamo a mettere mano a fstab:
sudo gedit /etc/fstabE inseriamo nel file questa riga, sostituendo il valore trovato per il nome della partizione e il nome assegnato al punto di mount:
/dev/NOME_PARTIZIONE /media/PUNTO_DI_MOUNT vfat iocharset=utf8,umask=000 0 0
sudo mount -aSe non dovesse montarsi la partizione dovete digitare in serie questi due comandi, ignorando i messaggi d'errore che restituirà il primo:
sudo umount -aSe tutto è andato per il verso giusto ad ogni avvio la partizione condivisa verrà automaticamente montata e visualizzata sulla scrivania.
sudo mount -a


2 commenti:
good post. Thanks for sharing the article. HOTMAIL
This is your ultimate knowledge source for Windows 7 key. This is the second part of the text about windows 7 product key. Windows 7 is part of the Windows NT family of operating systems. Developed by Microsoft, Windows 7 is basically the same as Windows Vista. However, it has entirely different graphics. The layout is also different from previous versions of Windows. It also runs a lot smoother.
Posta un commento